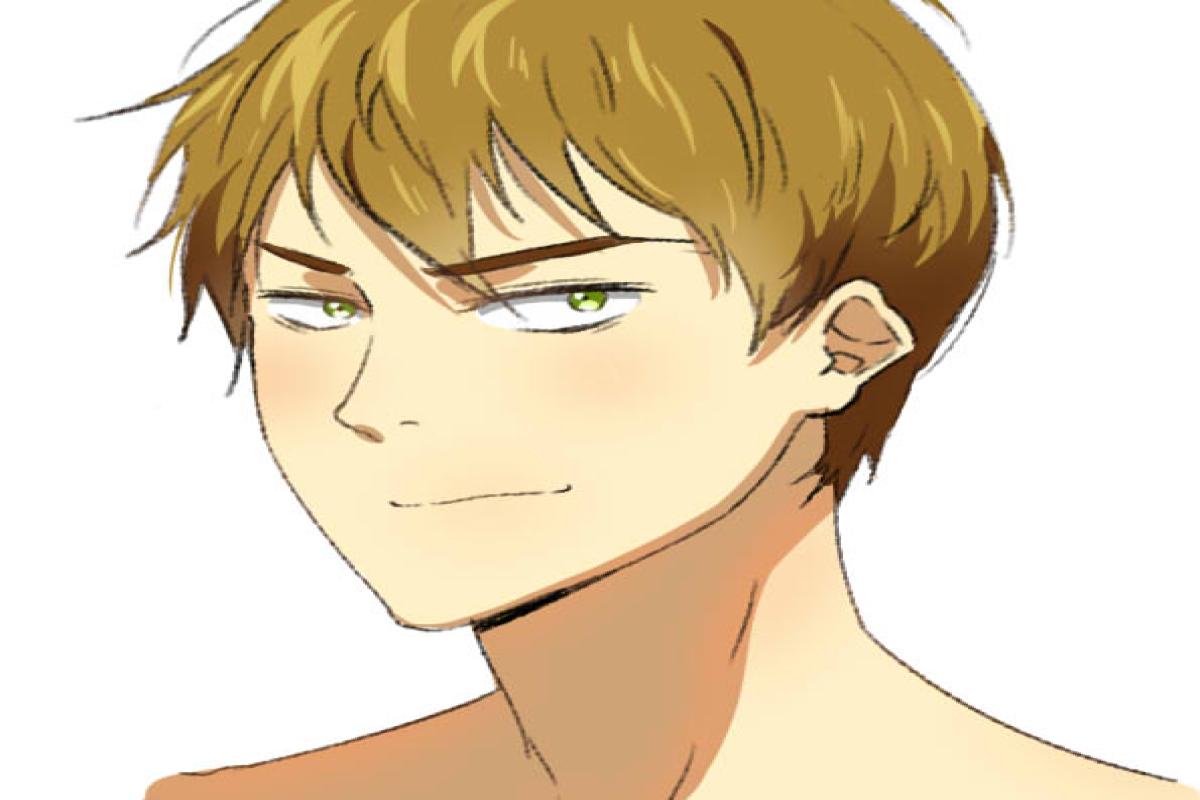
The guide of our Manga teachers
To continue to perfect our knowledge in the specificities of Manga drawing, we decided to analyse in this article the position of the face ¾. This positioning causes a lot of Manga drawing apprentices a lot of trouble, that's why we're going to break down this article into 4 parts.
- the realistic skull
- how to draw a realistic face
- the manga face drawn by professionals
- the steps to draw a manga face
As we said in our previous article "how to draw manga eyes", the manga style is derived from realistic drawing. This is why two of our steps consist in analysing this style.
Indeed, it is necessary to know that the realistic drawing, considered too "raw" was not adapted to the young public, that is how the Manga was born, a variant of the realistic style. It is by understanding that the two styles are linked and by analysing the realistic style that you will be able to perfect your Manga drawings. Talk to our qualified Manga teachers, take classes in Lausanne, Morges or Montreux and continue to practice by drawing and analysing the style you like.
The realistic human skull in ¾ position
Distances between elements and transmutation in drawing.
Here is an image of a human skull in ¾ position:

We focus on this position because it presents the complexities of both the front and the profile view, while excluding some characteristics of each of the two positions (from the front we see both eyes, the nose, the mouth, the ears, from the profile we see only one eye, one ear, the profile of the nose and the mouth). In ¾ position we can observe a mixture of these two perspectives.
When we draw a face from the front or from the side, we visualise a flat image, without volume, in a way 2D. If we apply this way of thinking in the ¾ position we run the risk of misproportioning the elements of the face. The trick is to represent the image with volume, like a cube, in order to perceive the front and side positions.

Now that we have our two positions and the prospective 3D image we can move on to the analysis of the skull itself.
This involves dividing the skull into several parts in order to establish the "distance" between these points. For example, between the ocular cavities and the top of the skull, between the chin and the nasal cavities.

Once these proportions are established, we can start to simplify the object to make it a manga drawing. In this case, the skull can be seen as a sphere, the 3D version of a circle, remember. By representing this circle as a tennis ball, we can differentiate two distinct sides. In order to have the perspective of this sphere we need to find a "flat surface" from which to start our 3D visualisation. We offer you the outlined part in the following image. The rest of the circle is the 3D projection.

Once we have this sphere, we can start drawing axes to start placing the eyes, the distance between the eyes, the nose, the mouth, the chin etc.

The lower part of the face can be visualised as a cube, for which the flat part could be the one highlighted in green:

With all of this analysis done, you can now start proportioning, start with the cheeks and don't worry if you don't get it right first time. Experience is what makes it better.

How to draw a realistic face?
The same process will be used to draw a realistic face. The same lines, the same calculations.

We told you earlier that it is advisable to start with the cheeks, knowing that it is an important element for the ¾ position. Indeed, one cheek is well exposed, the other only half exposed. The cheek characterises the shape of the face and it is important to find a marker to draw it properly. Most of the time, the cheek in ¾ position is between the eyes and the bottom of the nose. It can be more or less rounded. It is important to be able to position it well in the Manga drawing.

How to draw a Manga face in ¾ position?
We are now going to take an existing Manga image and apply everything we have just learned about the proportions of the human skull and realistic drawing. From the definition of the flat area, the elaboration of the sphere, the distances between the different elements that constitute the face, the definition of the cube for the lower part of the face.


As we can see, the analysis of the realistic face to Manga drawing face process applies perfectly.
Take images of your favourite Manga drawings and try each time to apply these analyses to faces positioned ¾ of the way through.
What are the steps to draw a Manga face in ¾?
Now we can start drawing a manga face without the support of a pre-existing image using the same method.
First, a circle that will define the skull. Inside the circle, the flat part that will make the rest of the circle a visualisation of our 3D image.

Then, the evaluation of the distances between the different elements forehead, eyes, nose, chin and distance between the eyes.

And finally, the cube for the lower part of the face:

From this construction you can start to draw the hair, ear, eyes, nose and mouth.

Manga has many specificities. Today, we wanted to talk to you about this ¾ positioning and how to approach it. If you want to deepen your knowledge and train with other Manga drawing enthusiasts, Apolline offers Manga courses in Lausanne, Morges and Montreux or online Manga courses on the Internet.
Our Manga teachers will help you with the positioning challenge ¾ and many more.
